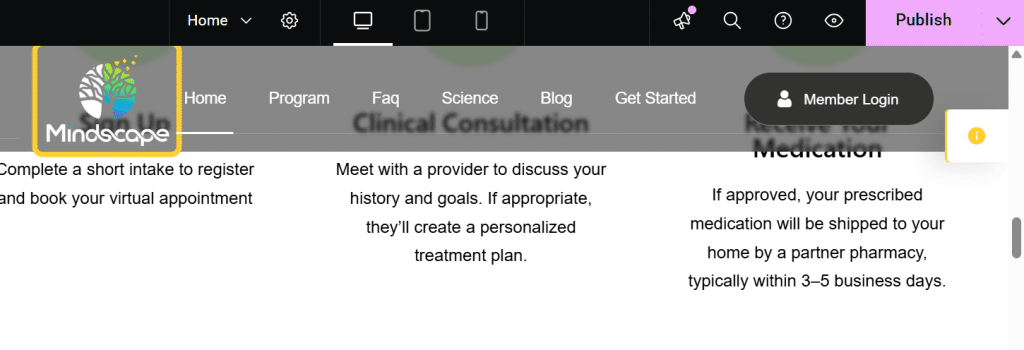
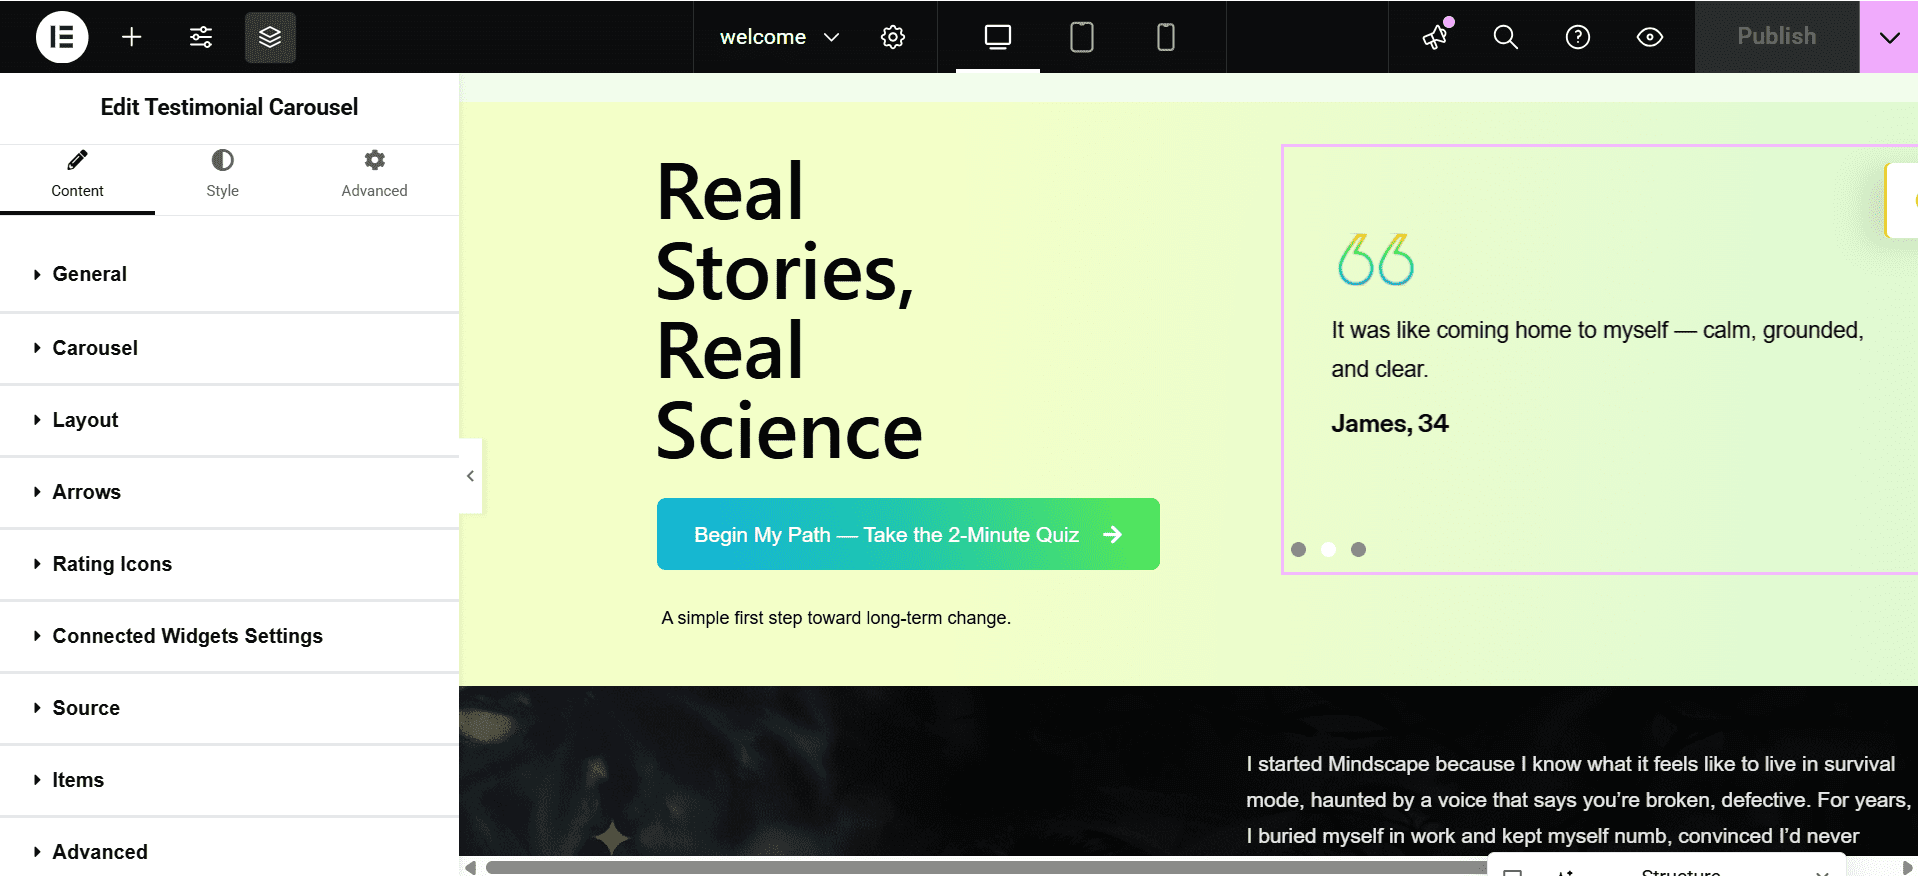
Admin Tutorial

All Page Tutorial — Using Elementor

1. Locating the Page in WordPress

  • In the WordPress dashboard, go to Pages → All Pages.
  • Find the page labeled Ex : “Home” (or whichever page is set as the homepage).
  • If you don’t see “Home,” check Settings → Reading to see which page is set as the “Homepage.”
  • Click Edit with Elementor on that page.

2. Editing Content in Elementor

Once you’re in the Elementor editor:

a) Selecting a Section / Widget

  • Hover over a section; you’ll see Pink border and icons for Edit Section, Duplicate, Delete, etc.
  • Click the Edit Section (6 dots icon) to modify the section’s layout, style, padding, etc.
  • Inside the section, hover a widget (like a heading, text editor, image) and click the Edit Widget icon (pencil icon).

b) Editing Text Content

  • After clicking Edit Widget on a Text or Heading widget, on the left panel you’ll see the “Content” tab where you can change the text (title, paragraph, list, etc.).
  • Use the “Style” tab to change typography, color, spacing.
  • If needed, use the “Advanced” tab for margins, padding, motion effects.

c) Editing / Replacing Images

  • Click the Image widget (or the widget that holds an image) and in the left panel under “Content → Choose Image” you can pick a different image from Media Library or upload a new one.
  • You can also change the image size, alignment, caption, link, etc.
  • Under “Style,” you can add borders, shadows, hover effects, etc.

d) Editing / Replacing Button Content

  1. Select the Button Widget
    Click the button you want to edit. The left panel will display the Button widget settings.
  2. Edit Button Text
    Under the Content → Text field, you can change the label of the button (e.g., “Let’s Begin” → “Get Started”).
  3. Edit Link / URL
    In the Link field, enter the URL where you want the button to navigate. This can be an internal page, external site, or a custom anchor.
  4. Style the Button
    1. Switch to the Style tab to change:
      1. Text color
      2. Background color
      3. Typography (font, size, weight)
      4. Borders, border-radius, or shadows
      5. Hover effects
  5. Advanced Settings
    In the Advanced tab, you can adjust:
    1. Margin and padding
    2. Motion effects
    3. Responsive visibility (show/hide on desktop, tablet, mobile)

Save Changes
Once edits are done, click Update at the bottom of the Elementor panel to save your changes.

3. Adding New Content / Elements

To insert new widgets or sections:

  1. On the left panel (Elementor toolbox), search for the widget you want (Heading, Image, Button, etc.).

  2. Drag & drop it into your desired section or into a new section.

  3. Configure its content, style, and advanced settings as above.

  4. To add a new section: click the “+” icon (Add New Section), choose structure (e.g. one column, two columns etc.), then drag widgets into it.

4. Deleting Sections / Widgets / Images

  • To delete a widget: hover over it → right-click → Delete (or click the “X” icon).

  • To delete a section: hover the section → right-click the 6-dot handle → Delete.

  • If deleting an image from the media library (sitewide): go to Media → Library, find the image, click it and choose Delete Permanently. (Be cautious — if it’s used elsewhere you’ll break that usage.)

5. Publishing / Saving Changes

  • After you make edits, click Publish (Top Right) in Elementor to save changes.
  • View the page (Preview Changes) to ensure it looks correct on desktop, tablet, mobile.

Documentation Steps to Edit This:

StepActionNotes / Tips
1In Elementor, locate the top section (hero)Use the navigator (bottom left icon) to find “Section – Hero” easily
2Change background image or colorClick Edit Section → Style → Background → Choose Image / Overlay
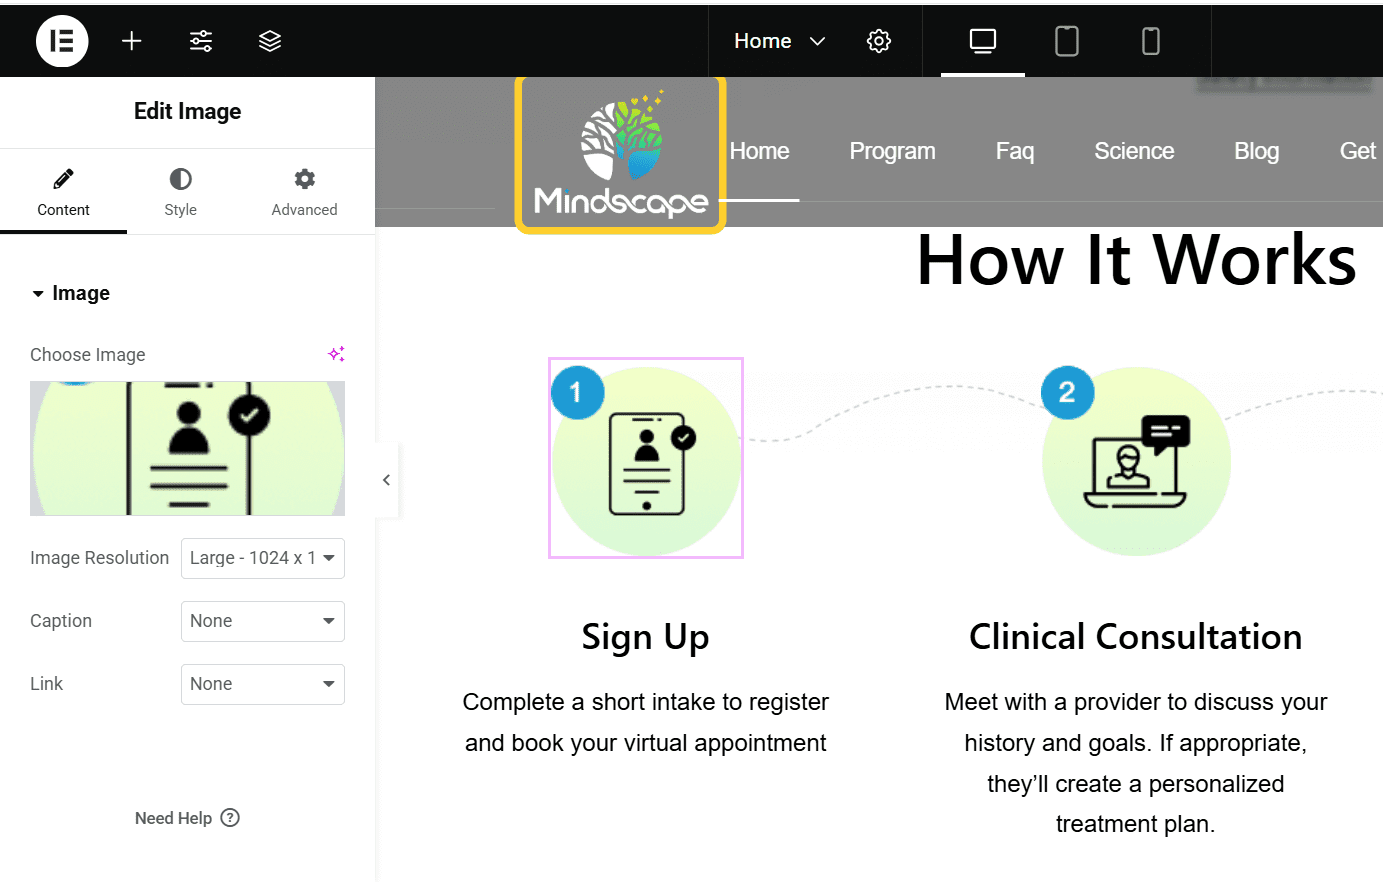
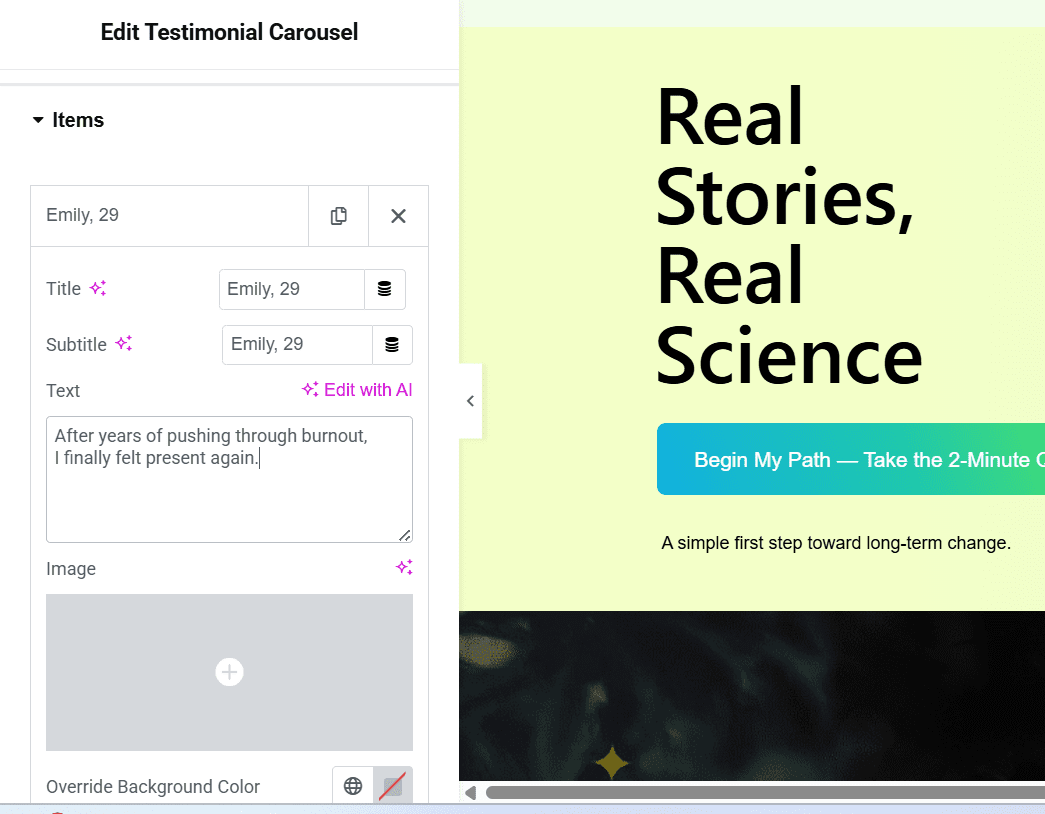
3Edit heading textClick the heading widget → change text under “Content” tab
4Edit paragraph / descriptionClick the text / editor widget → update content
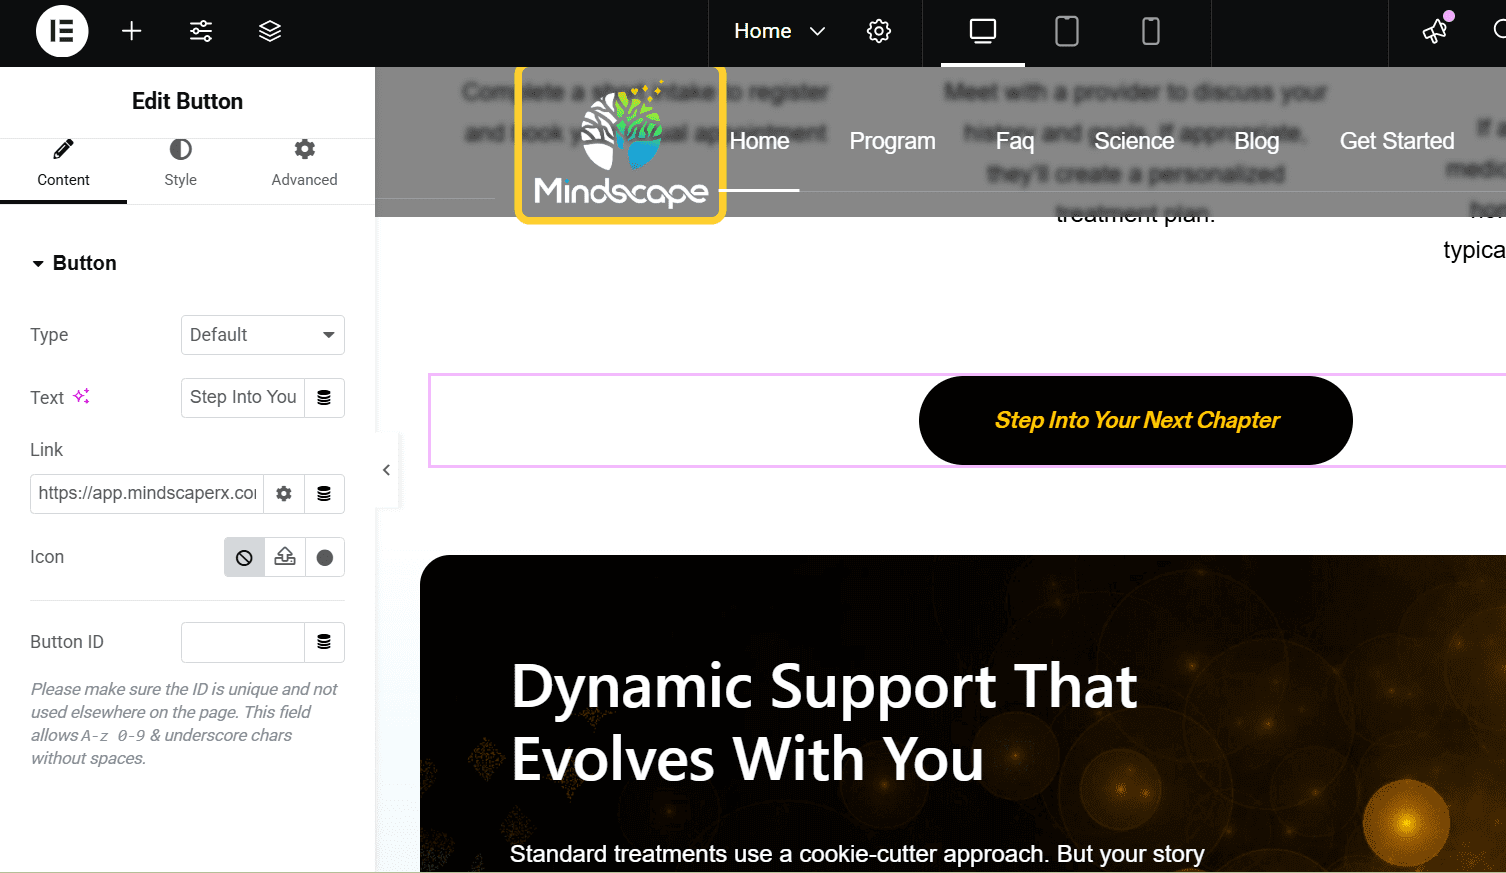
5Edit button (label / link)Click button widget → Under “Content” change text, set URL (link)
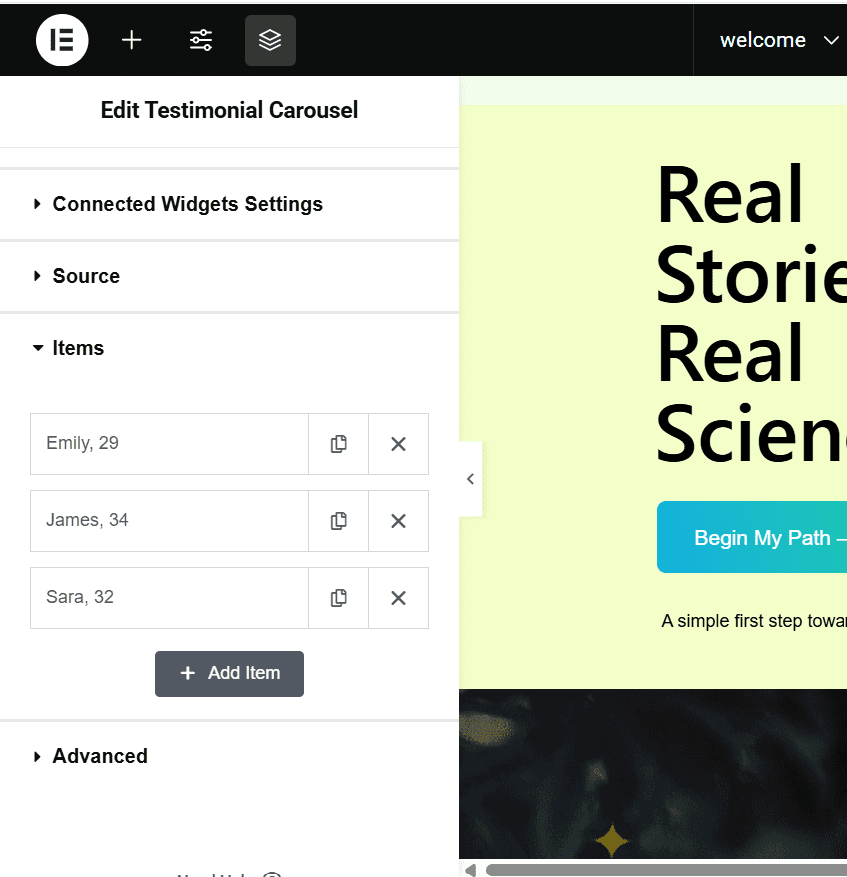
6Add / remove widget in this section (e.g. add icon or link)Drag a widget (icon, text, etc.) into this section, adjust layout
7Delete a widget if not neededRight-click → Delete
8Adjust spacing / padding to make layout neatUse “Advanced” tab → padding / margin settings
9Preview across devicesUse the responsive mode toggles (desktop / tablet / mobile)
10Click Update to saveAlways save after changes

Testimonial Tutorial — Using Elementor

1.Locate the Testimonial Carousel Widget

  • Scroll through the page until you find the Testimonial Carousel section.

  • Click directly on the carousel — the widget’s panel will open on the left.

2.Edit Testimonial Content

Once you’re in the Elementor editor:

Once selected, you’ll see Slides or Testimonials listed in the left panel.

  • Click on a Items.

  • You can edit:

    • Name (client’s name)

    • Title/Position

    • Testimonial text

    • Image (client photo or avatar)

    • Star Rating (if enabled)

To add a new testimonial:

  • Click Add Item (➕).
    To remove one:

  • Click the X or “Delete” option on that item.

3. Publishing / Saving Changes

  • After you make edits, click Publish (Top Right) in Elementor to save changes.
  • View the page (Preview Changes) to ensure it looks correct on desktop, tablet, mobile.

Blog Tutorial– Using Default WordPress Editor

1. Adding a New Blog Post

  • Go to the Posts Menu
    In the WordPress dashboard, navigate to Posts → Add New.

  • Enter Post Title
    At the top, type the title of your blog post.

  • Add Content

    • Use the main editor area to write your content.

    • You can add paragraphs, headings, lists, images, videos, or other blocks using the Gutenberg block editor.

    • To add a new block, click the + icon and select the desired block type.

  • Add Featured Image

    • On the right-hand panel, locate Featured Image → Set Featured Image.

    • Upload a new image or select from the Media Library.

    • This image will appear as the thumbnail on the blog page and in post previews.

  • Assign Categories & Tags

    • In the right panel, choose relevant categories for your post.

    • Add tags to help organize and improve search visibility.

  • Publish the Post

    • Click Preview to see how it looks.

    • Once satisfied, click Publish to make it live on your blog page.

2. Editing an Existing Blog Post

  • Go to Posts → All Posts.

  • Hover over the post you want to edit and click Edit.

  • Make changes in the editor (text, images, or featured image).

  • Click Update to save your changes.

3. Deleting a Blog Post

  • Go to Posts → All Posts.

  • Hover over the post you want to delete and click Trash.

  • The post will be moved to the trash and can be permanently deleted from Trash.

Popup Box & Mini Popup Tutorial

1. Accessing Popup Code

  • Go to Theme Editor
    In the WordPress dashboard, navigate to Appearance → Theme File Editor.
  • Select Theme Files
    On the right-hand panel, locate Theme Files and open footer.php.
  • Locate Popup Code
    Scroll through footer.php to find the Popup and Mini Popup code.

2. Editing Popup Code

  • Once you locate the popup code, you can:

    • Modify content (text, buttons, links, styling)

    • Update behavior (timing, triggers)

    • Add or remove images

  • After making edits, click Update File to save changes.

3. Temporarily Disabling a Popup

  • To temporarily disable a popup without deleting it, comment out the relevant popup code:
     
    <!-- <?php /* Popup code here */ ?> -->
     
  • This will prevent the popup from showing but keeps the code for later use.

4. Permanently Deleting a Popup

  • To permanently remove a popup, delete the corresponding code from footer.php.

  • Caution: This action cannot be undone unless you have a backup of the file.

5. Notes

  • Popups apply to all pages by default because they are included in footer.php.

  • Always backup footer.php before making edits or deletions.

  • Test the popup after editing to ensure it works correctly and does not break the site layout.

Video Tutorial